24 watercolor ideas for Christmas
And a step-by-step watercolor tutorial for your festive spirit
These past few years, I haven’t felt very “Christmassy”. And I believe no one can make a festive mood happen for you except you ;) So, my solution for the Christmas spirit is: to set up a Christmas tree and paint Christmas postcards in watercolor.
This year, we are staying at my parent’s place in Kyiv, Ukraine, while they temporarily reside in Poland. I feel much better knowing they are in safety even though they really miss home.
And so, to decorate the tree, I looked for my parents’ Christmas ornaments and had a lot of fun with it as they had lots of new pretty ornaments I hadn’t seen.
Also, I found some of the old ones that date all the way back to my childhood in Mykolaiv, when we were still celebrating holidays together. My heart jumped in surprise and a light pinch of nostalgia.
Anyway, enough for sentimentalities. The other thing that helps me bring out that festive mood is to paint Christmas-themed artwork.
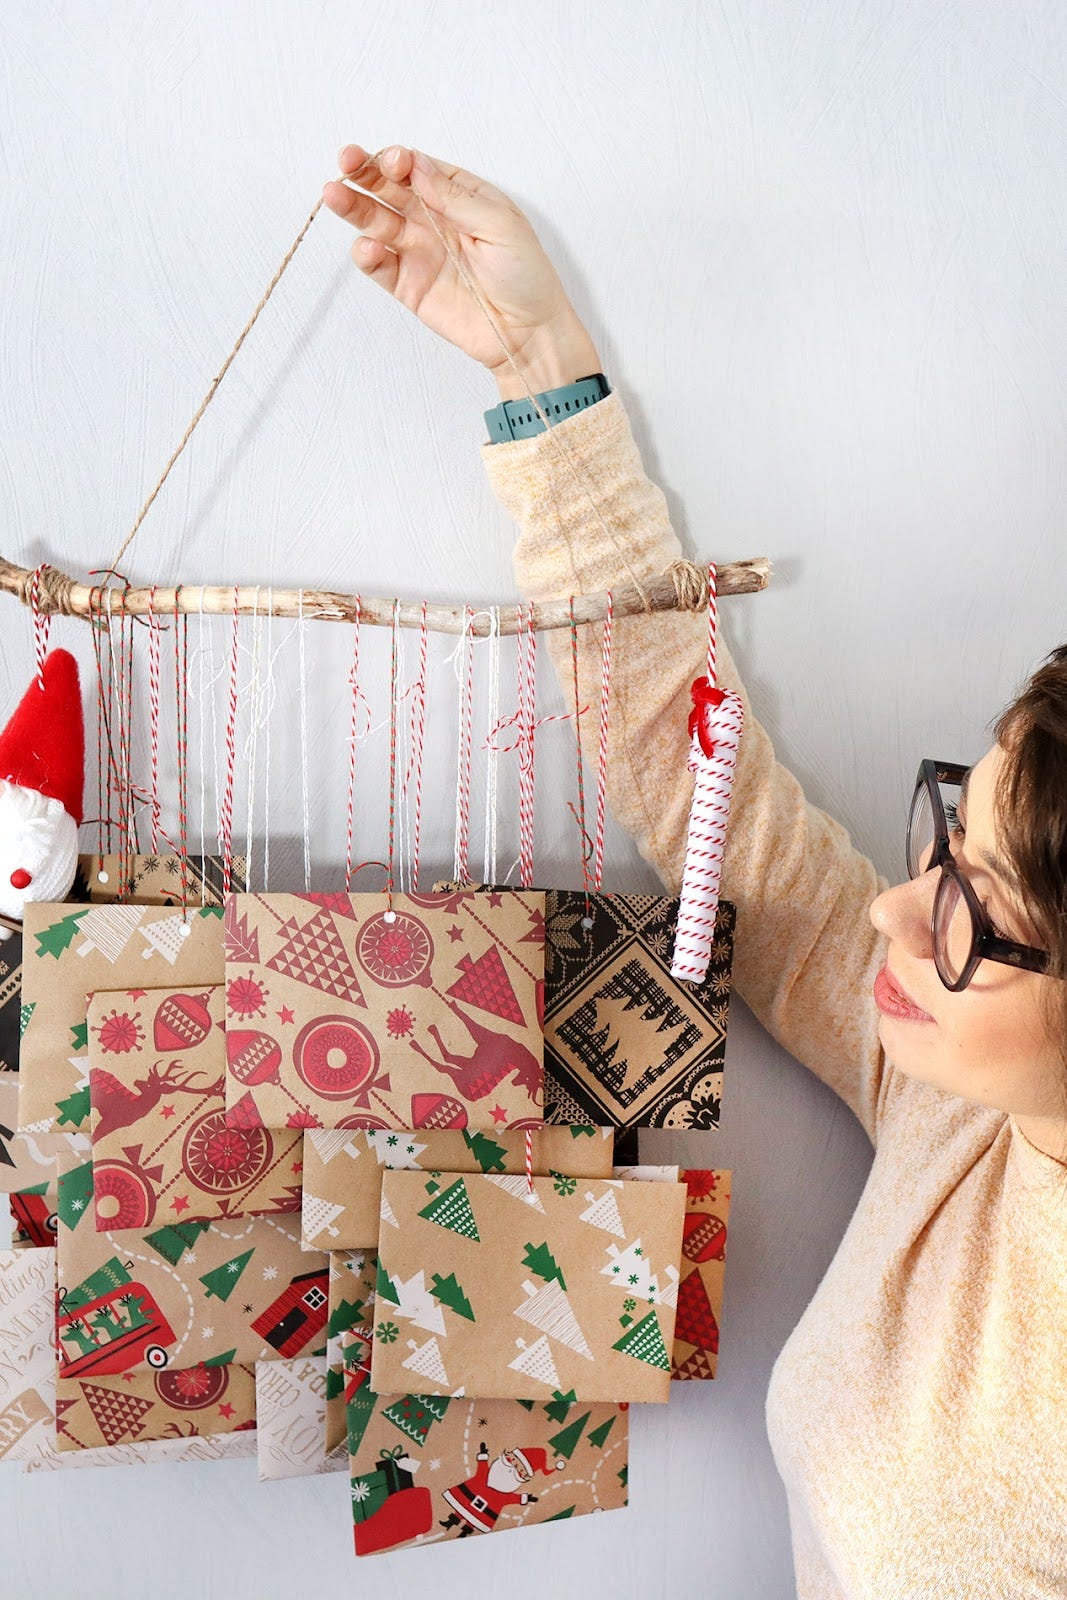
Last year, I went as far as making an Advent Calendar with 24 watercolor postcards, painting one per day until Christmas.
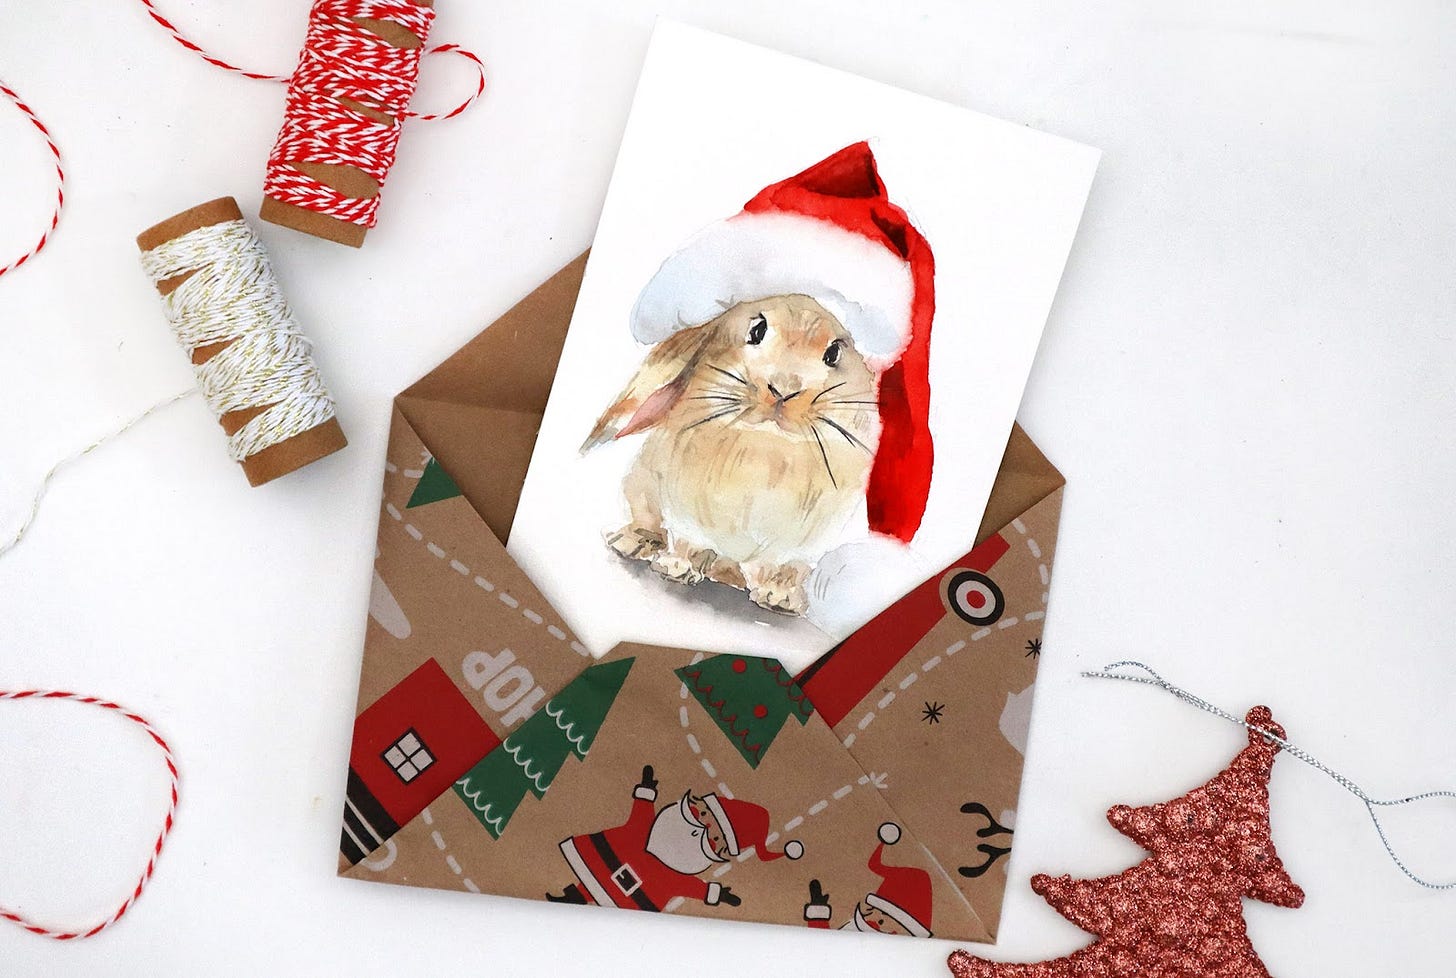
Today, I want to share with you a step-by-step tutorial on how to paint one of my favorite postcards in watercolor:
Christmas bunny in watercolor step-by-step
Step 1
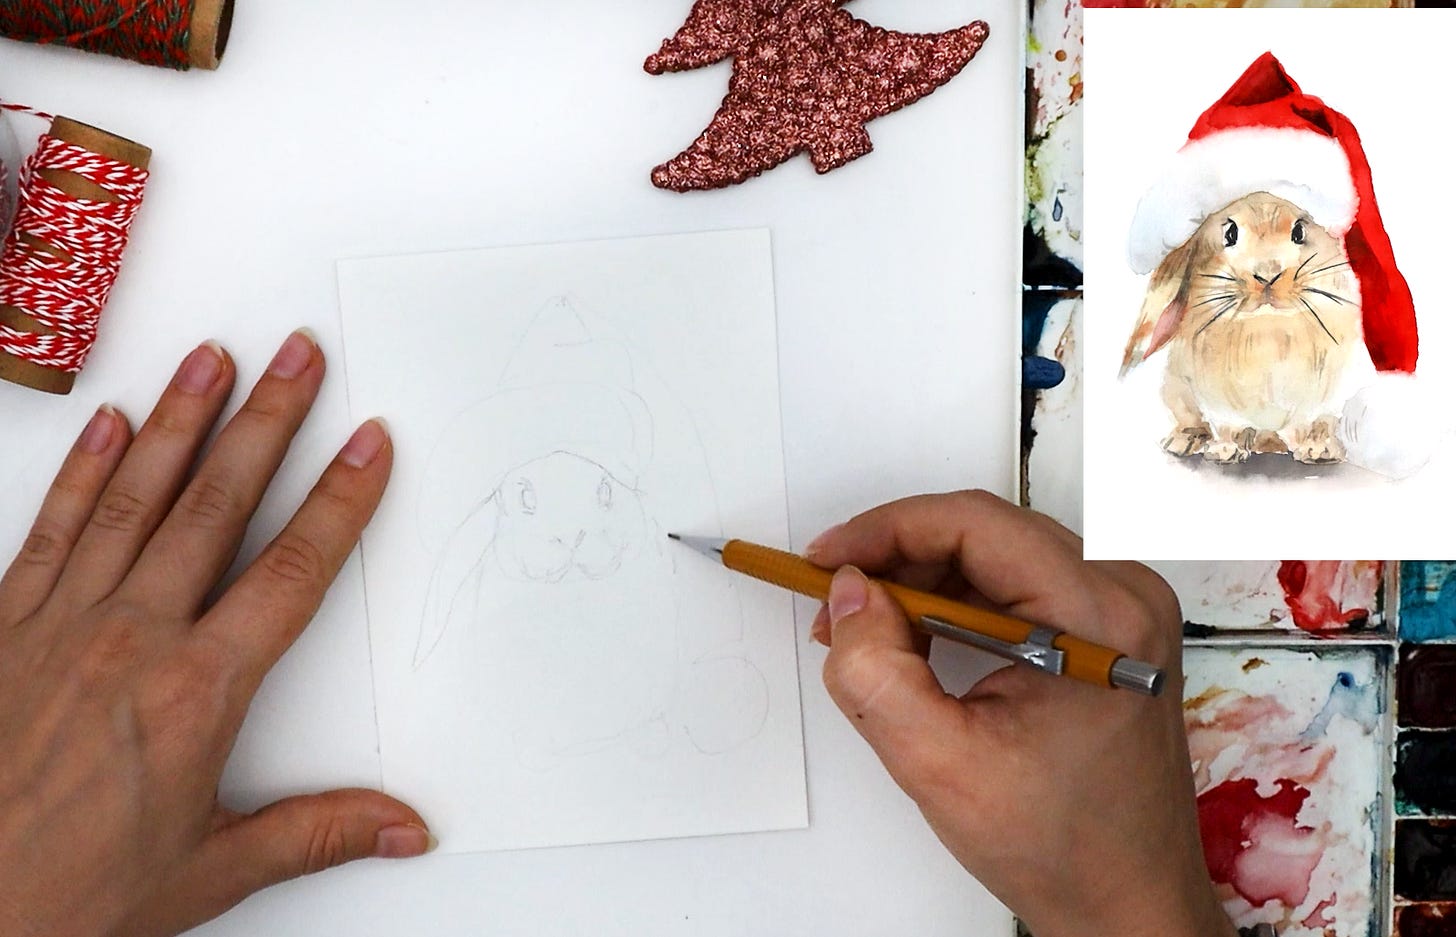
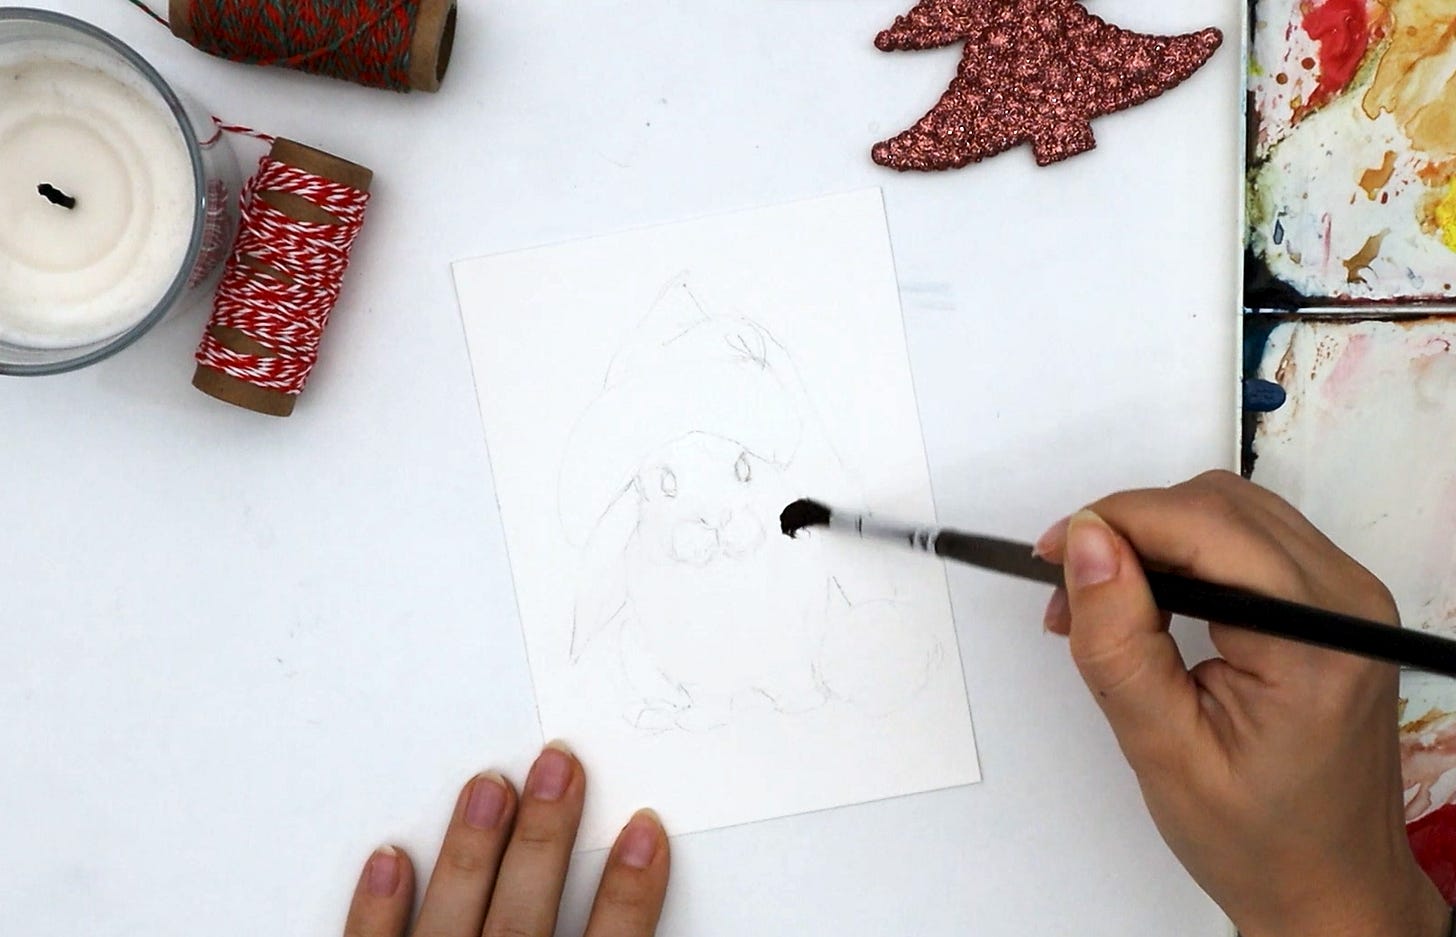
Prepare a detailed pencil sketch of a bunny wearing a Santa hat. Do not press your pencil too hard, and keep the lines light.
Right before the watercolor part, lightly go over the sketch with a kneadable eraser to remove the darkest lines. The bunny is light, so you want to avoid dark graphite pencil lines shining through the watercolor layers.
Step 2
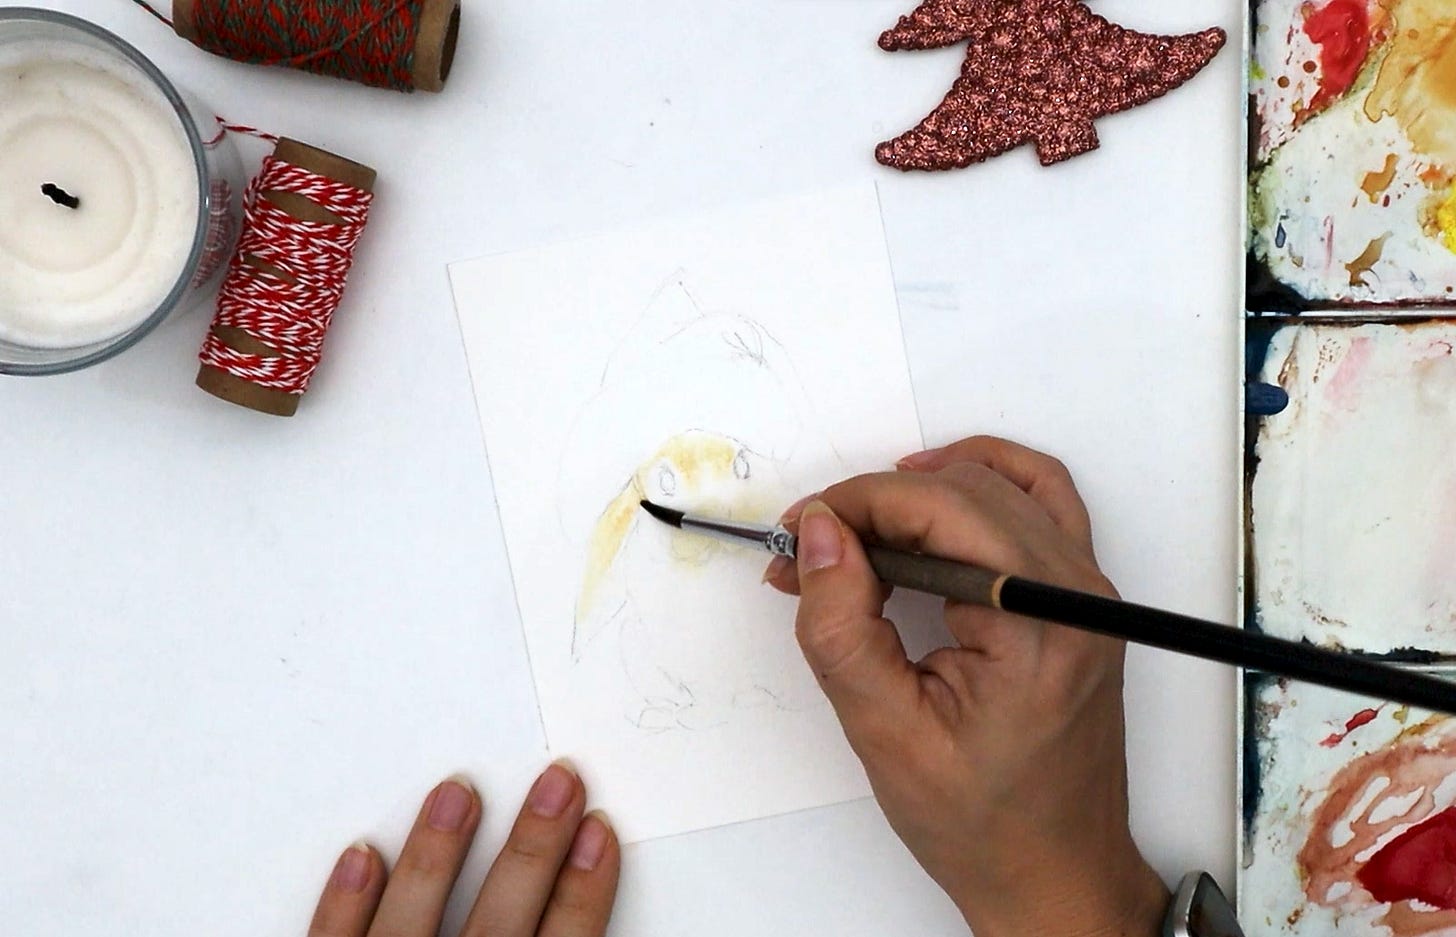
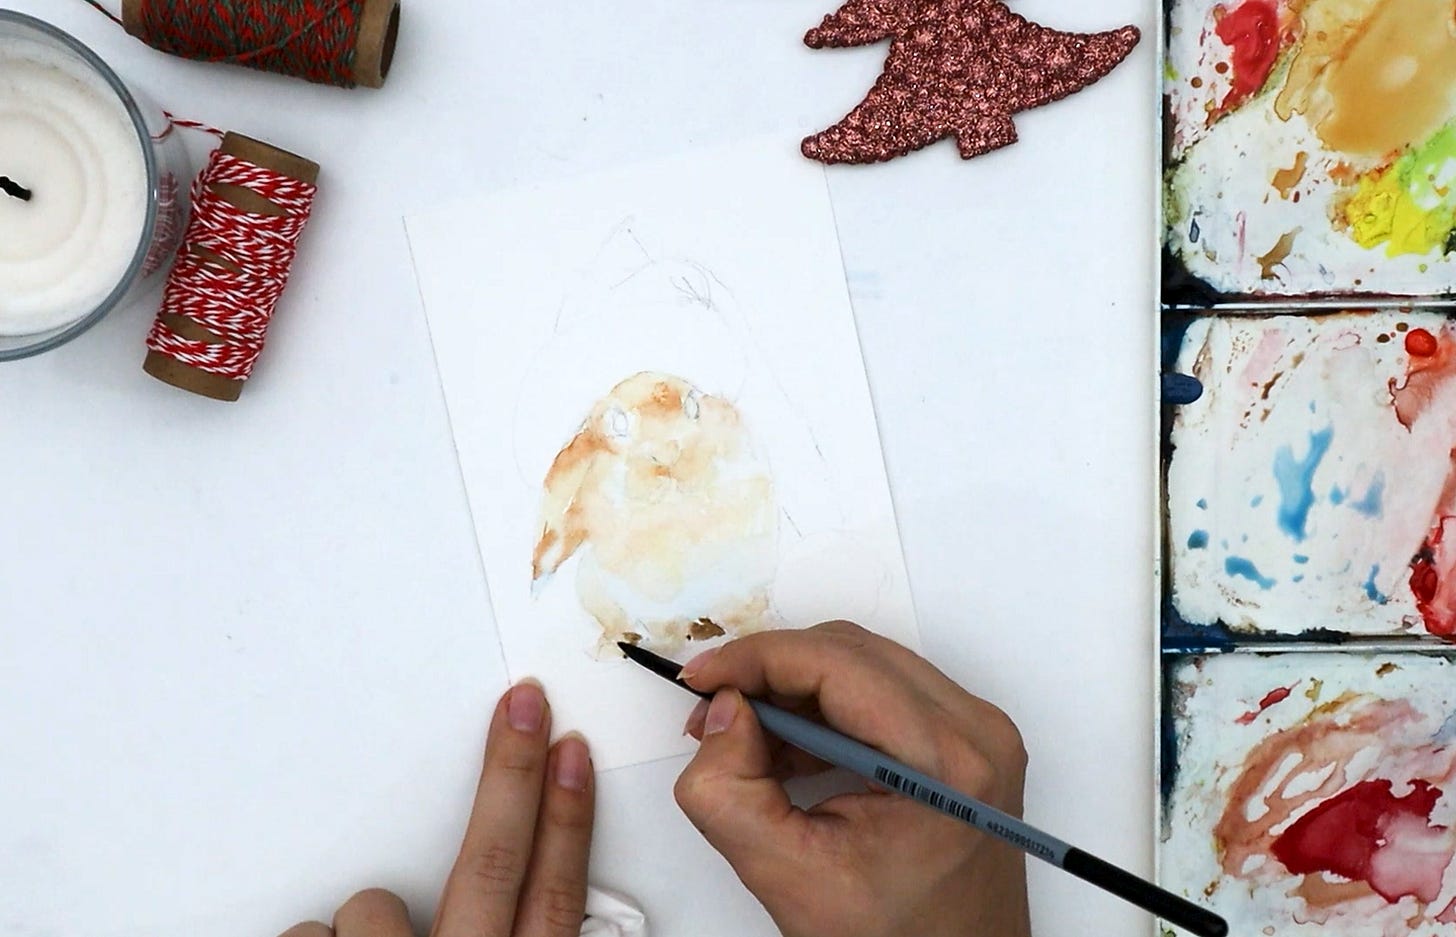
First, apply clean water on the bunny to prepare the area for a wet-on-wet technique.
Step 3
We start with a wet-on-wet technique by applying quinacridone gold paint to the wet area. Leave certain areas blank to fill up with a cooler color later.
Step 4
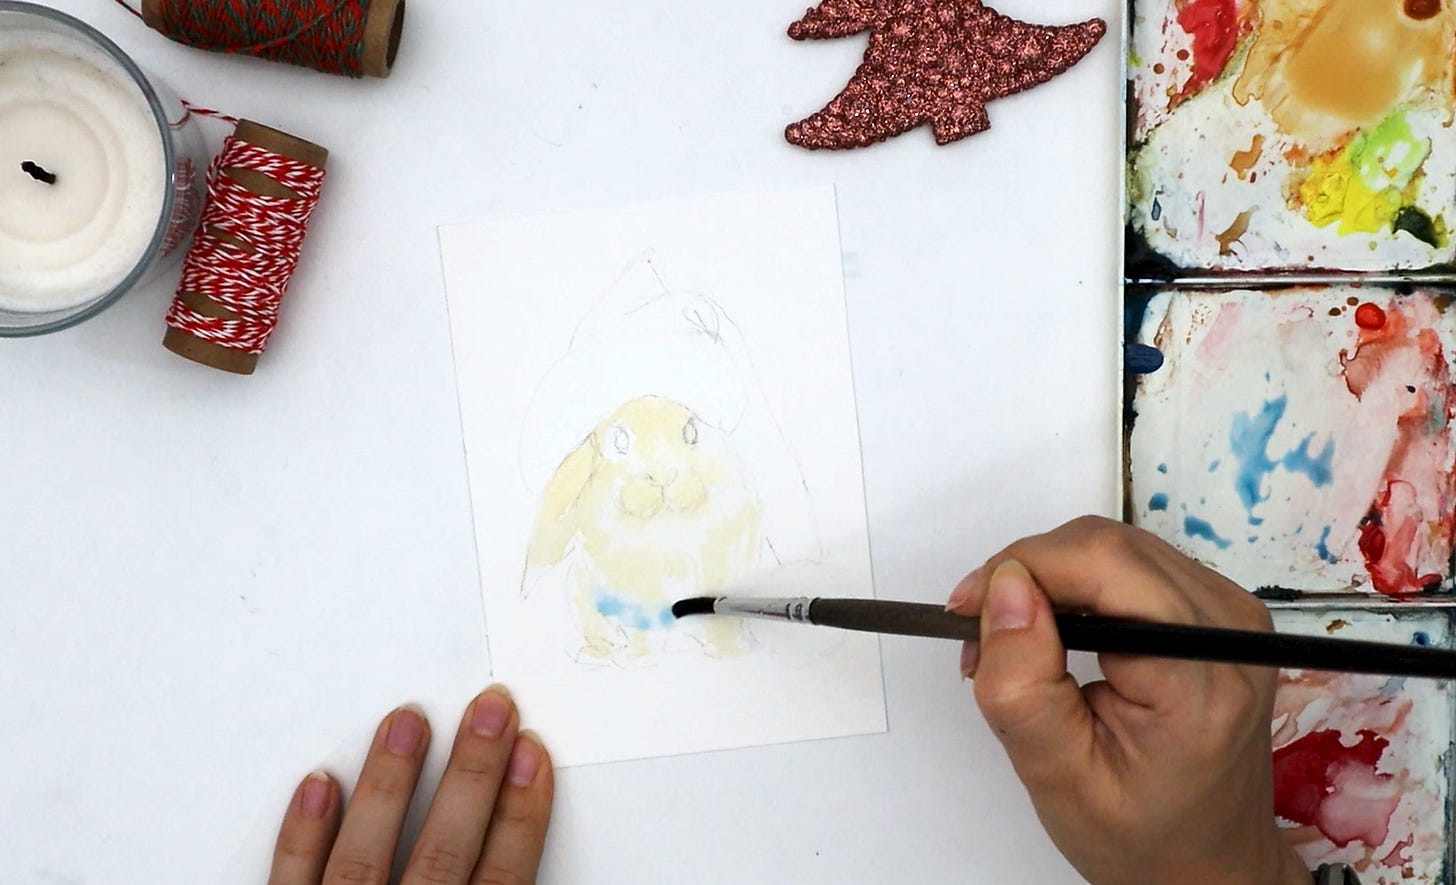
Lay Cerulean blue on the blank areas, such as the belly and tips of the ears, to create cooler underpainting for the bunny. We are now working on creating the foundation of our little hero.
Step 5
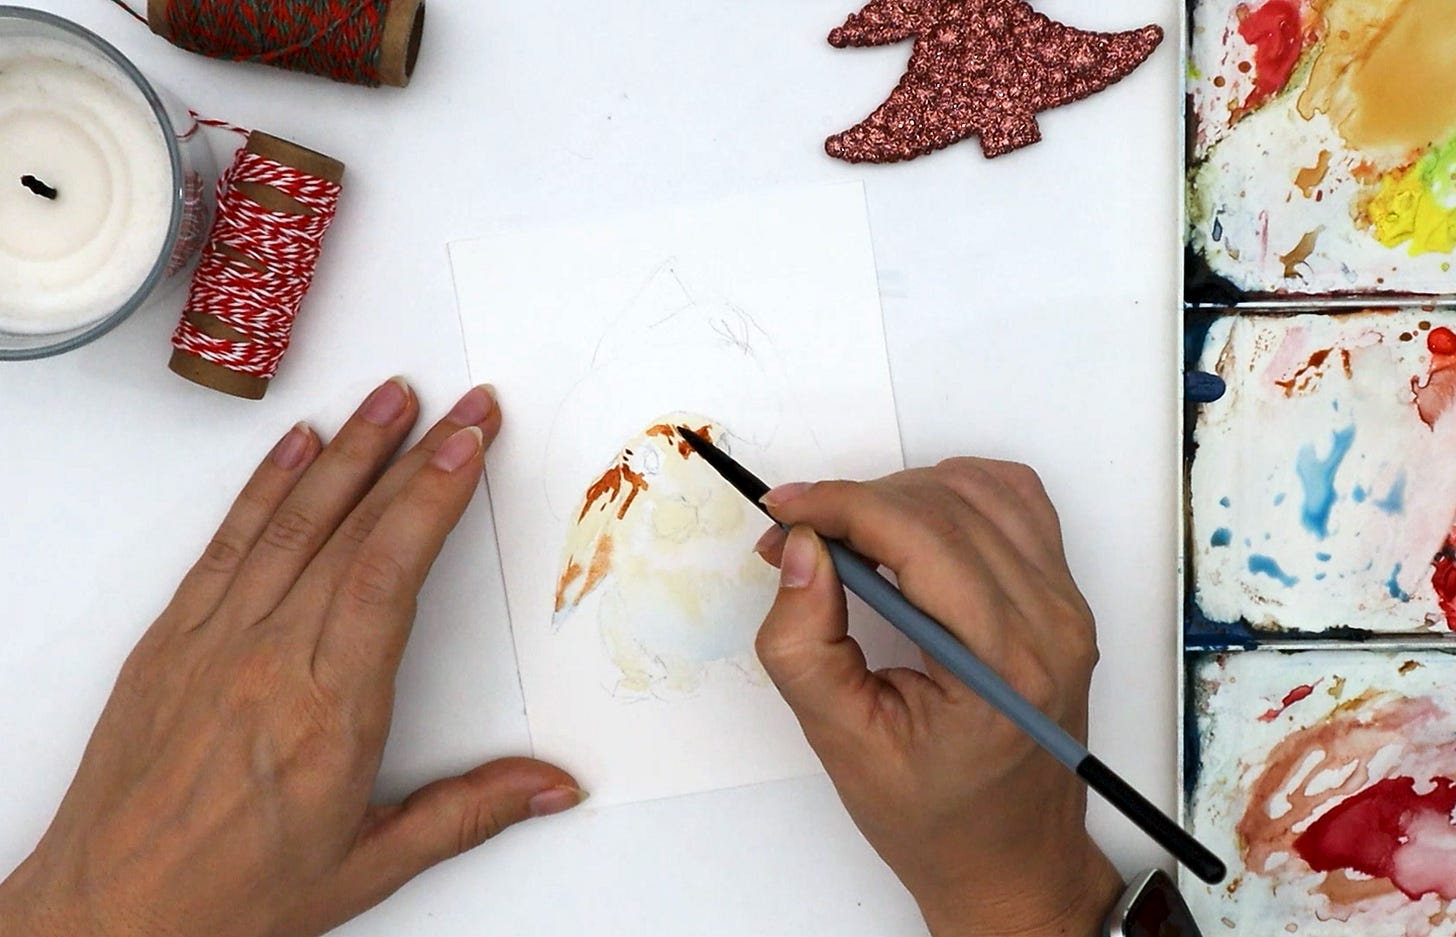
With Burnt sienna, place a few strokes on the face and ears of the bunny. By this time, the paper had gotten slightly dryer. With a semi-wet brush, carefully dilute the strokes to remove the sharp edges of your Burnt sienna paint.
Step 6
Add a little blue paint to your Burnt sienna to achieve a darker tone. With this dark brown mix, paint the shadowed part of the bunny.
Step 7
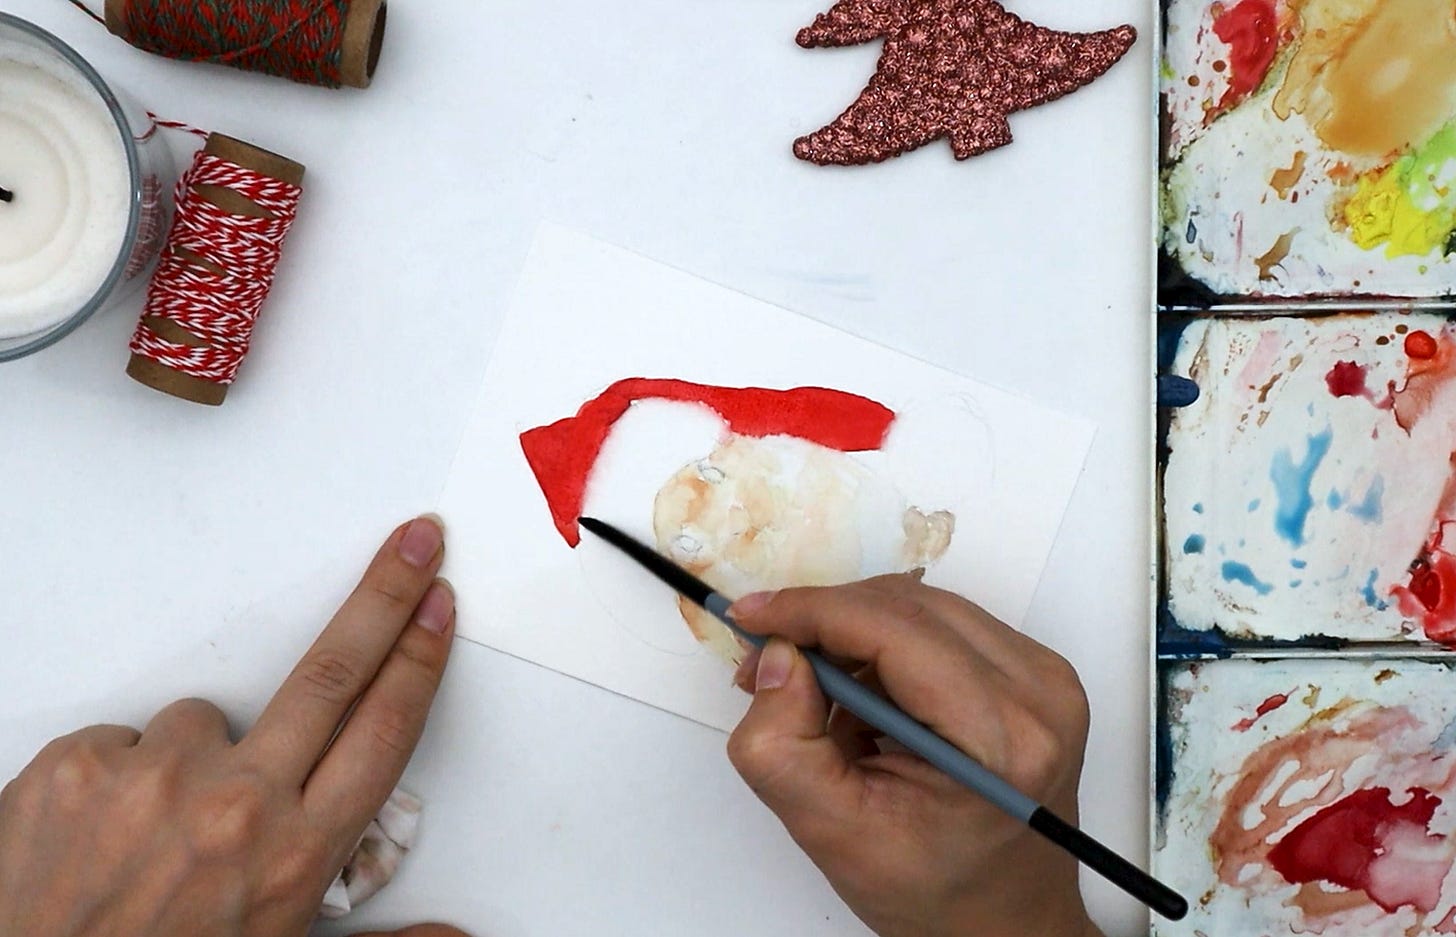
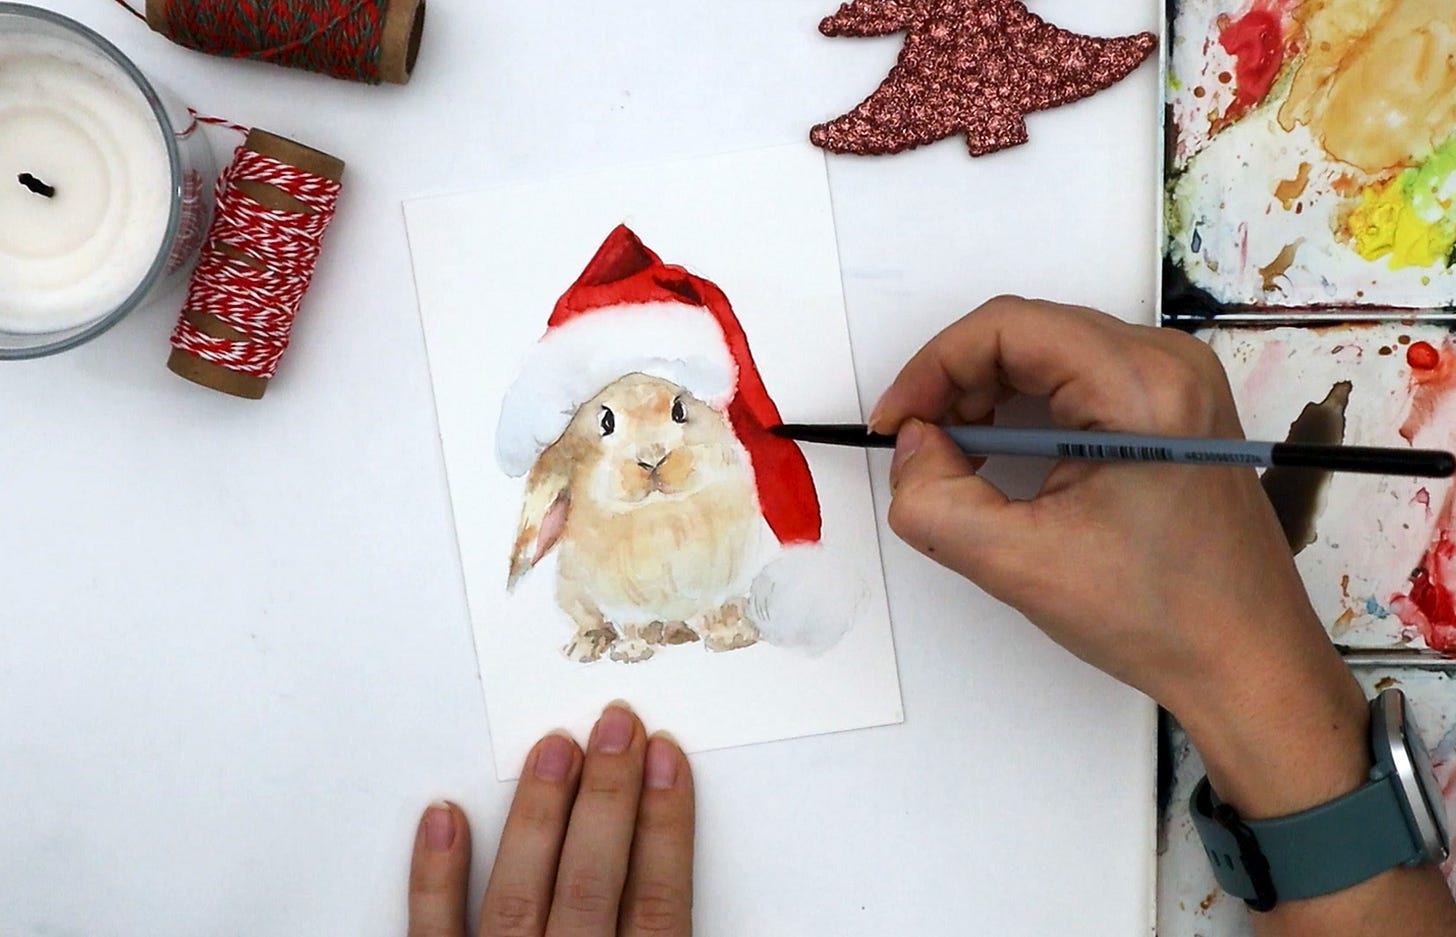
While the body is getting dry, we can work on the Santa hat. Take Bright Red and cover the hat altogether. When the hat is painted, work on its fluffy texture: take a semi-wet brush and carefully touch and blend the red edge. It will soften the line and give this a fluffy look. Make sure the red paint does not leak inside the white, fluffy part of the hat.
Step 8
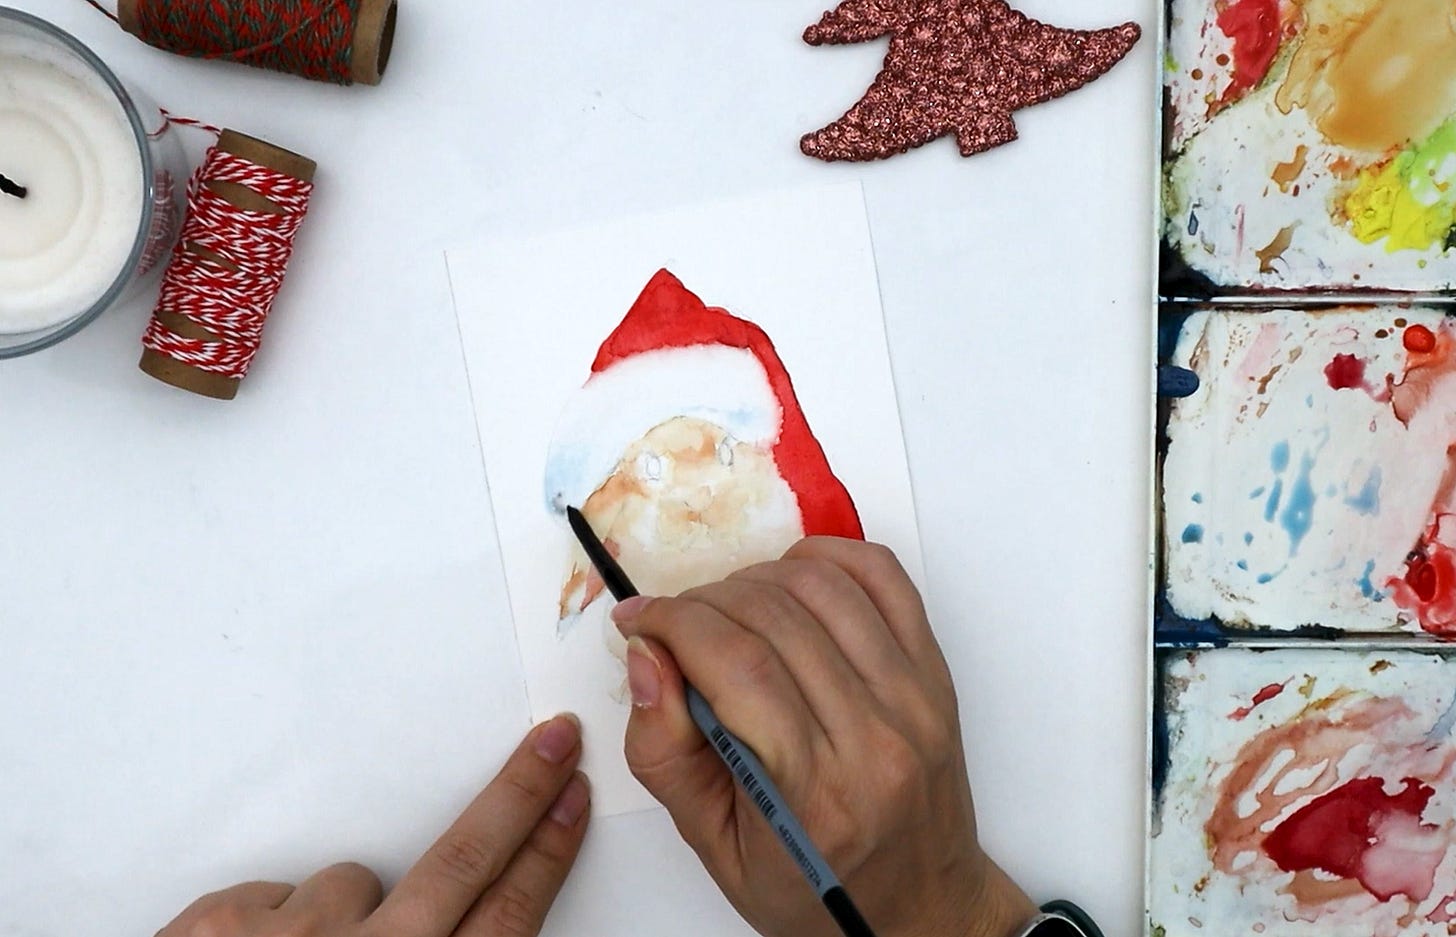
Now, we will add volume to the white part of the hat. Get light diluted blue paint on your semi-wet brush and lay it down on the bottom of the fluffy part. Remove sharp edges if needed. Then, add a bit of a grey tone in there to create a more vivid shade
Step 9
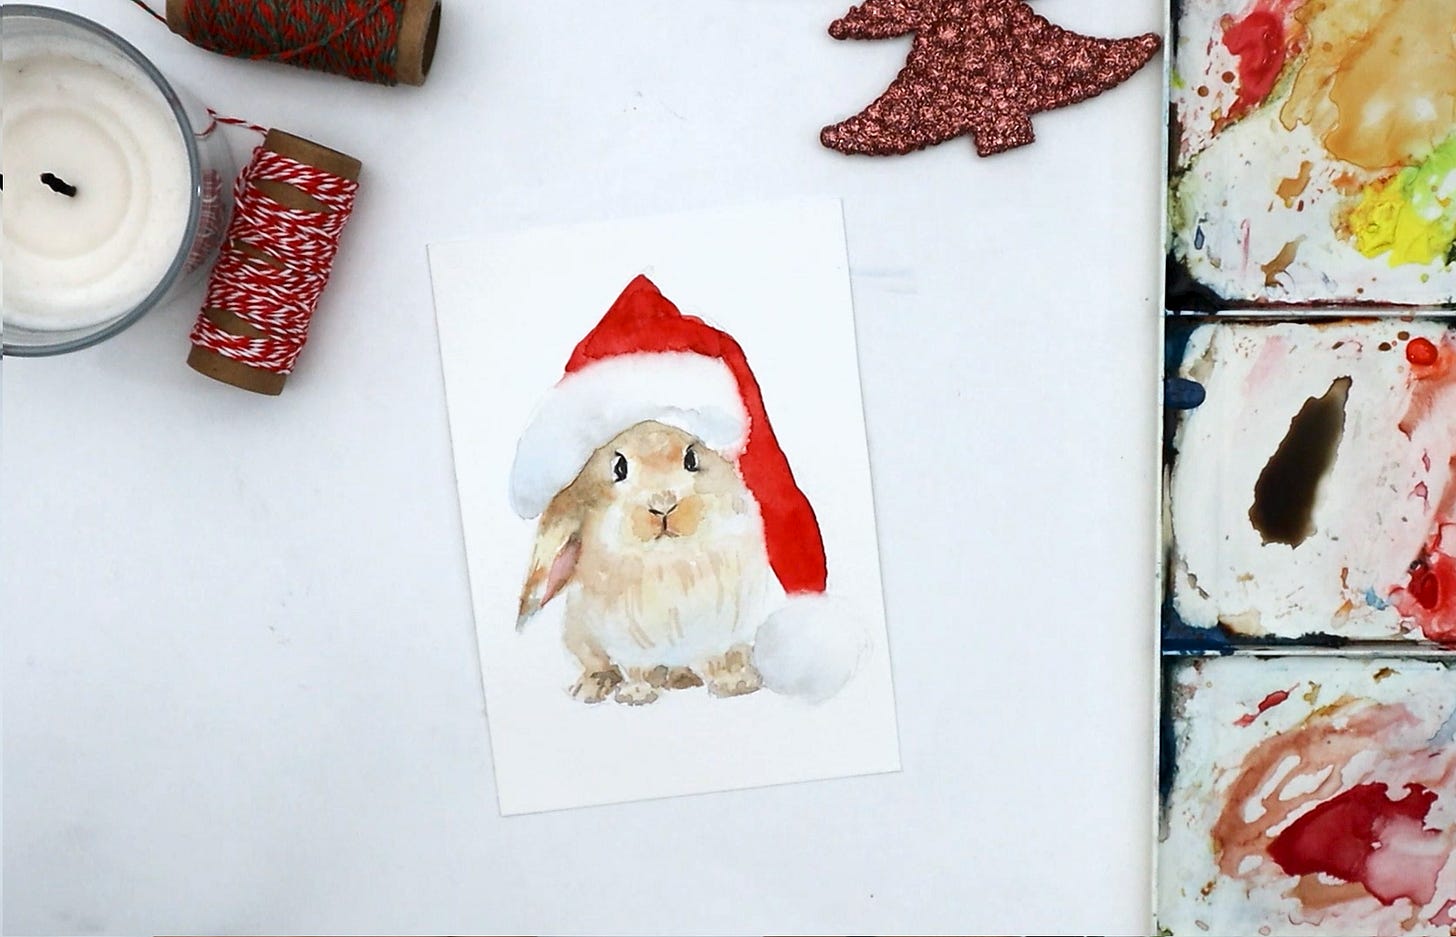
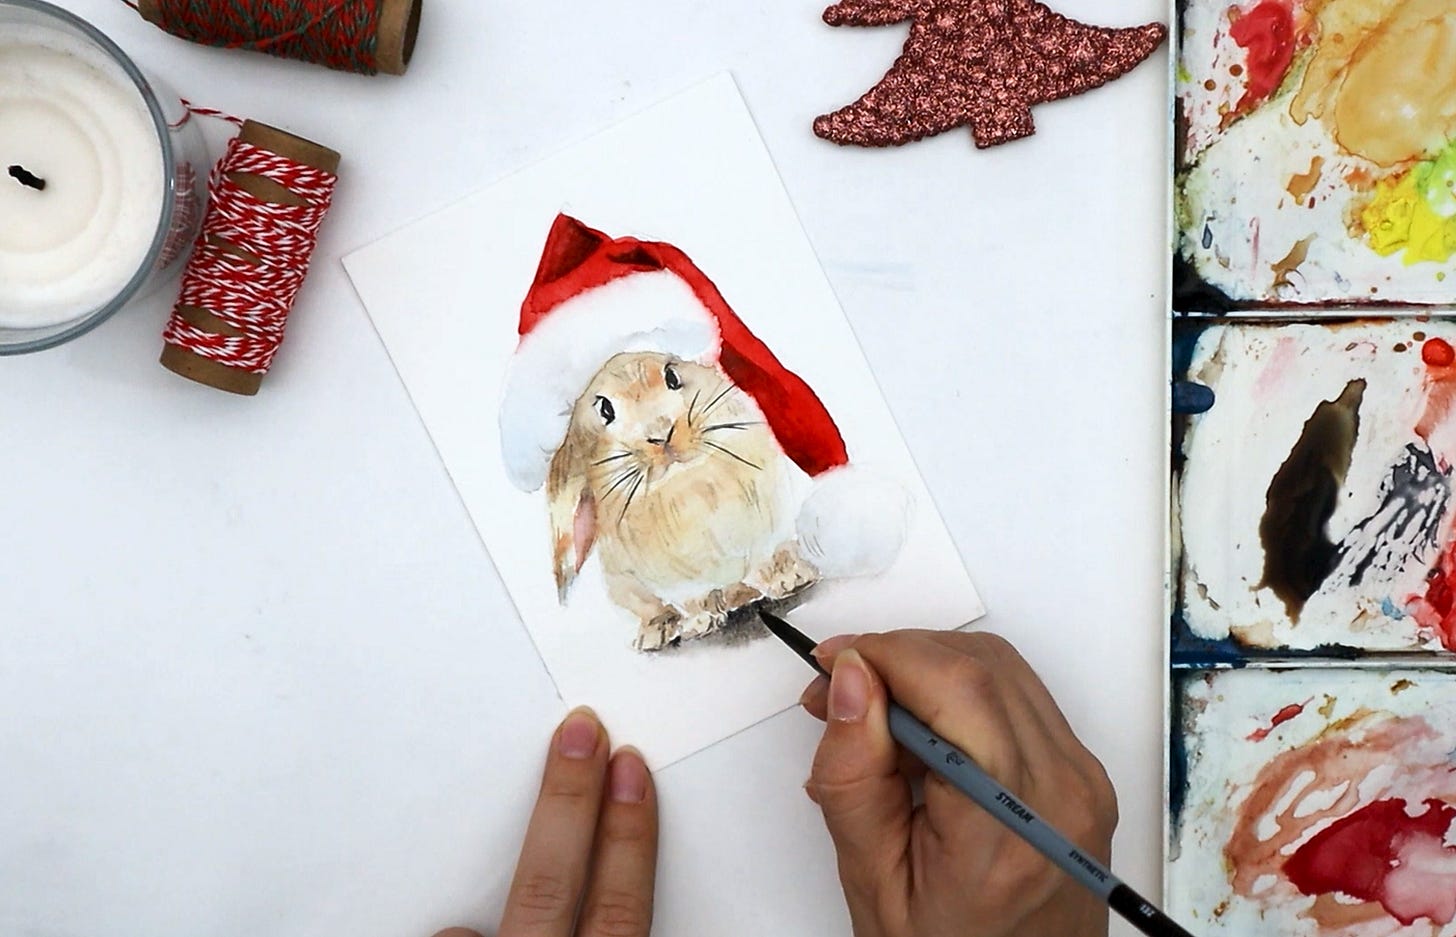
Leave the painting to dry for a bit. It is time for the layering technique! Get your darker brown paint (mixed or straight from the tube) and add shades and textures to the bunny. Finally, black paint creates eyes and nose.
Step 10
With the darker tone of red (by adding green into red or even a little bit of black), create folds on the hat to make it look more realistic
Step 11
Finally, with a tiny thin brush, carefully paint whiskers on the bunny and add some shadow under its feet for a realistic feel. You can blend the edge of that shadow, creating a gradated wash so that the paint smoothly stretches down the sheet.
Et voila! You’ve painted a Christmas bunny!
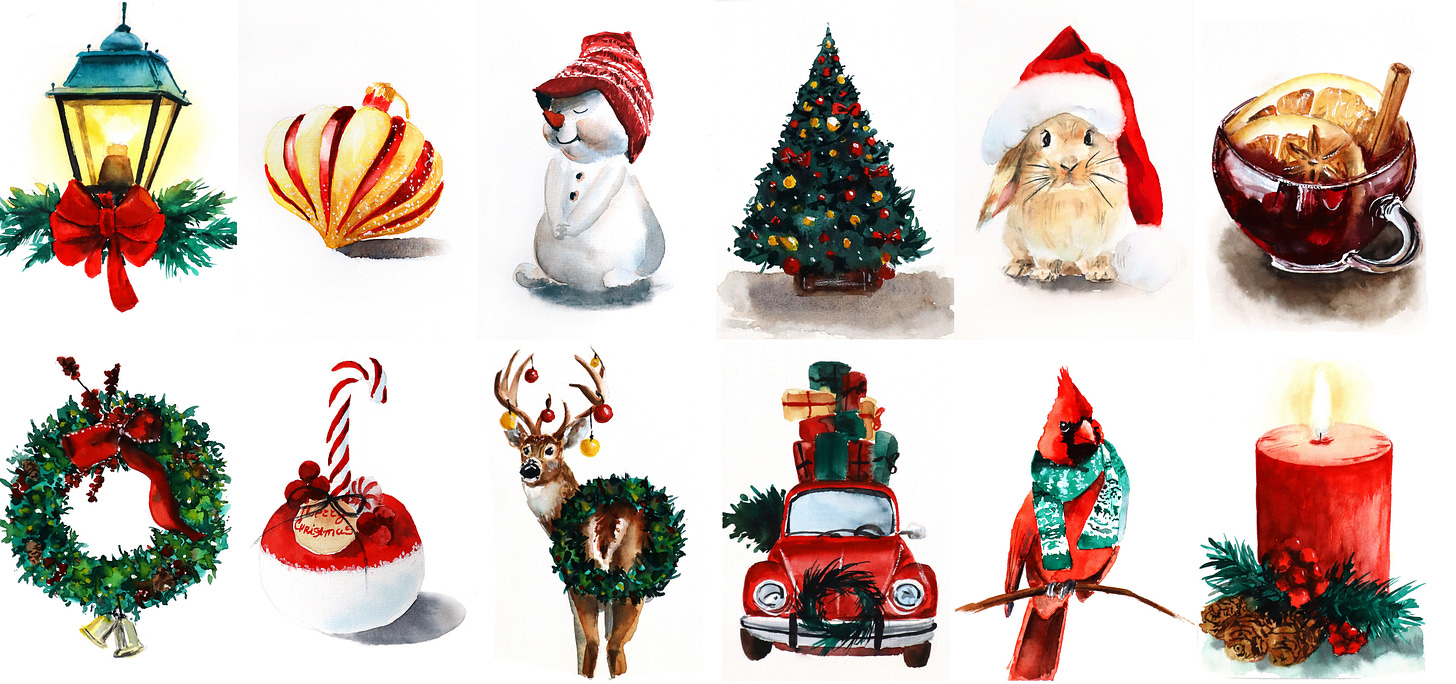
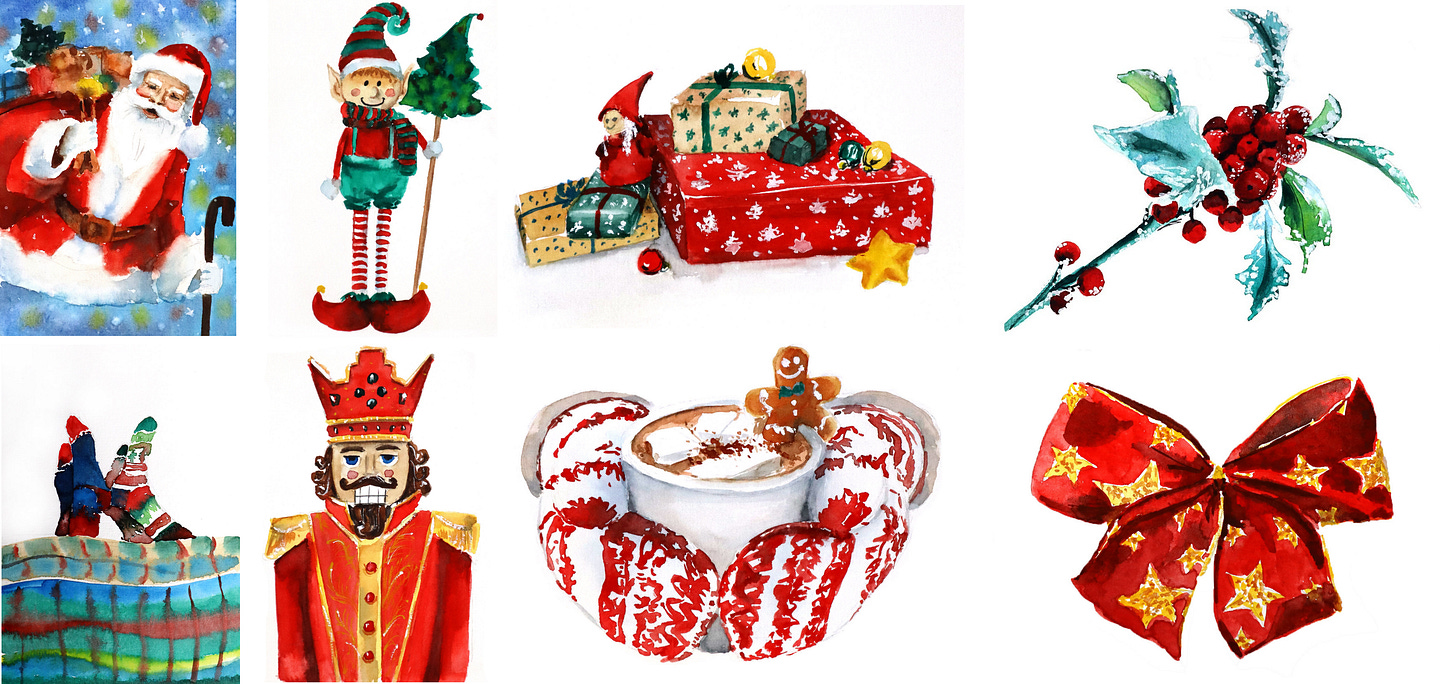
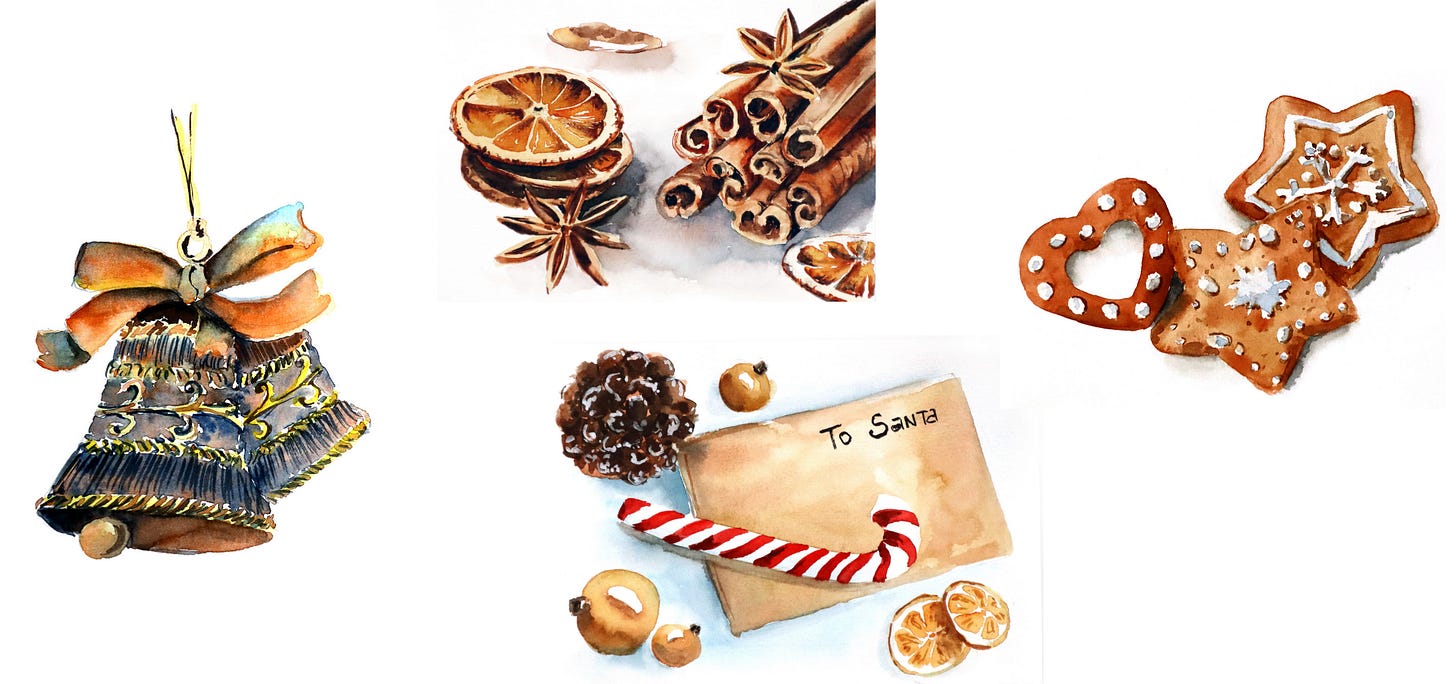
Here are all 24 watercolor postcard ideas you can paint in preparation for Christmas.
If you are curious to learn how to paint all of those (YES, all 24!) postcards in watercolor, check out my online watercolor course: Paint a Watercolor Advent Calendar
There, I explain materials and techniques and demonstrate every single step so you can create these exact paintings yourself.
Merry Christmas!
Yana


